Neckties are a key part of every man’s wardrobe, but do you know how to tie them right? A well-tied knot can make all the difference in your look.
From classic knots like the Four-in-Hand to bold styles like the Eldredge, each knot shapes your tie differently and suits different occasions. Learning these knots will help you match your tie to your shirt, suit, and event perfectly.
Imagine stepping into a room looking sharp and confident because you know exactly how to tie the perfect knot every time. Whether it’s for work, a wedding, or a night out, mastering these knots adds style and polish to your outfit.
Keep reading to discover the most common necktie knots every man should know, with simple step-by-step instructions to master each one quickly and easily.
Here’s what you’ll learn:
- Necktie Basics: What a necktie is and why it’s an important part of men’s style.
- Types of Neckties: The different styles like standard, skinny, bow tie, and more, and when to wear each.
- Common Knots: The most popular necktie knots, including Four-in-Hand, Half Windsor, Full Windsor, and others.
- Step-by-Step Knot Instructions: Easy-to-follow guides on how to tie each knot properly.
- Choosing the Right Knot: How to match knots to occasions, collars, and tie types.
- Specialty Knots: Learn about unique and bold knots like the Eldredge and Trinity for standout looks.
- Style Tips: How mastering these knots can improve your overall appearance and confidence.
What is a Necktie?
A necktie is a long piece of fabric worn around the neck, usually under a shirt collar and tied at the throat. It’s a classic accessory in men’s formalwear and can range from highly formal to business casual. More than just fashion, a necktie shows personal style, attention to detail, and understanding of occasion.
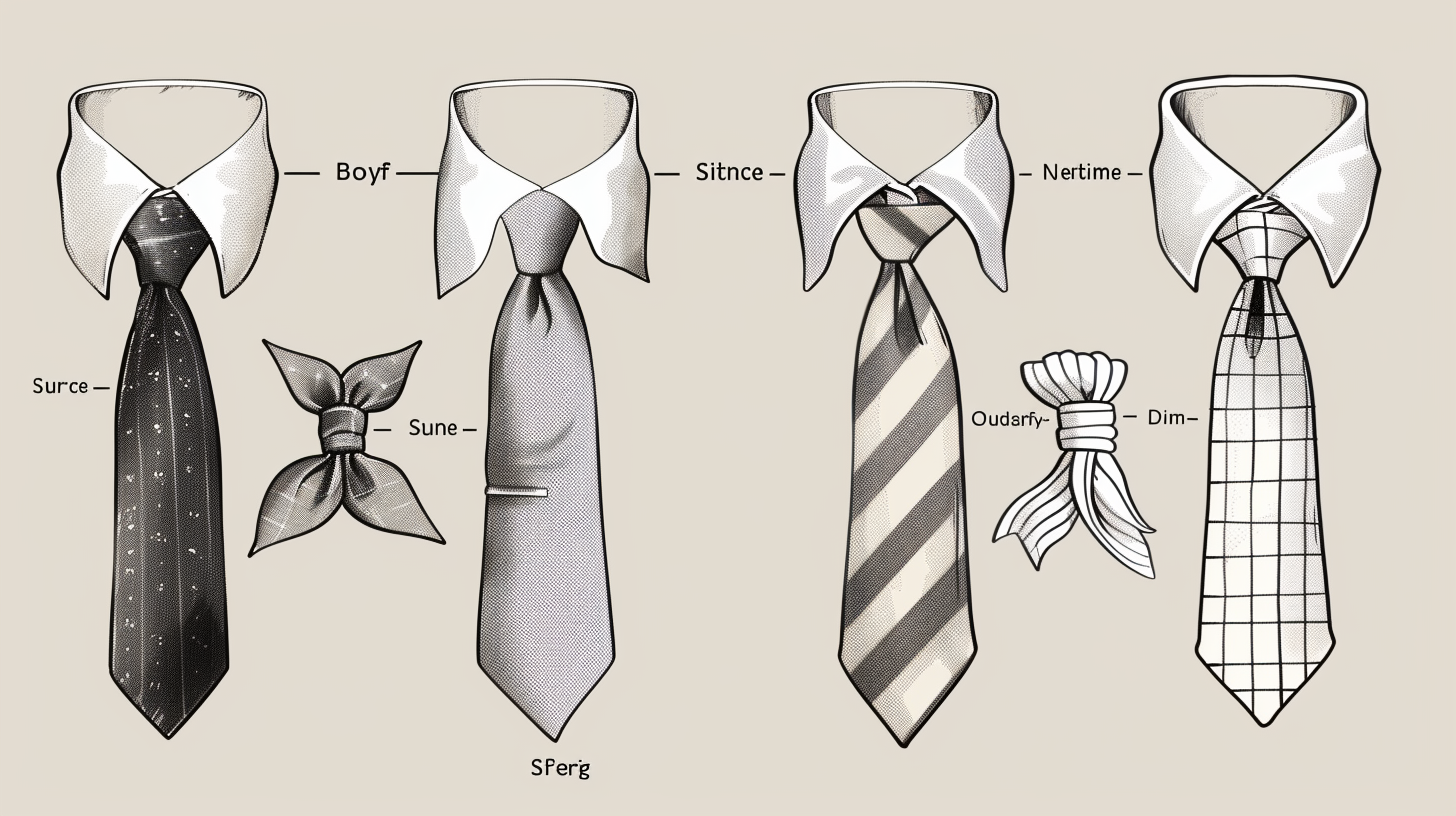
Types of Neckties
Neckties come in many styles, and each one serves a different purpose. Whether you’re dressing for work, a wedding, or a casual event, the right tie makes a difference. Here are the main types of neckties to know:
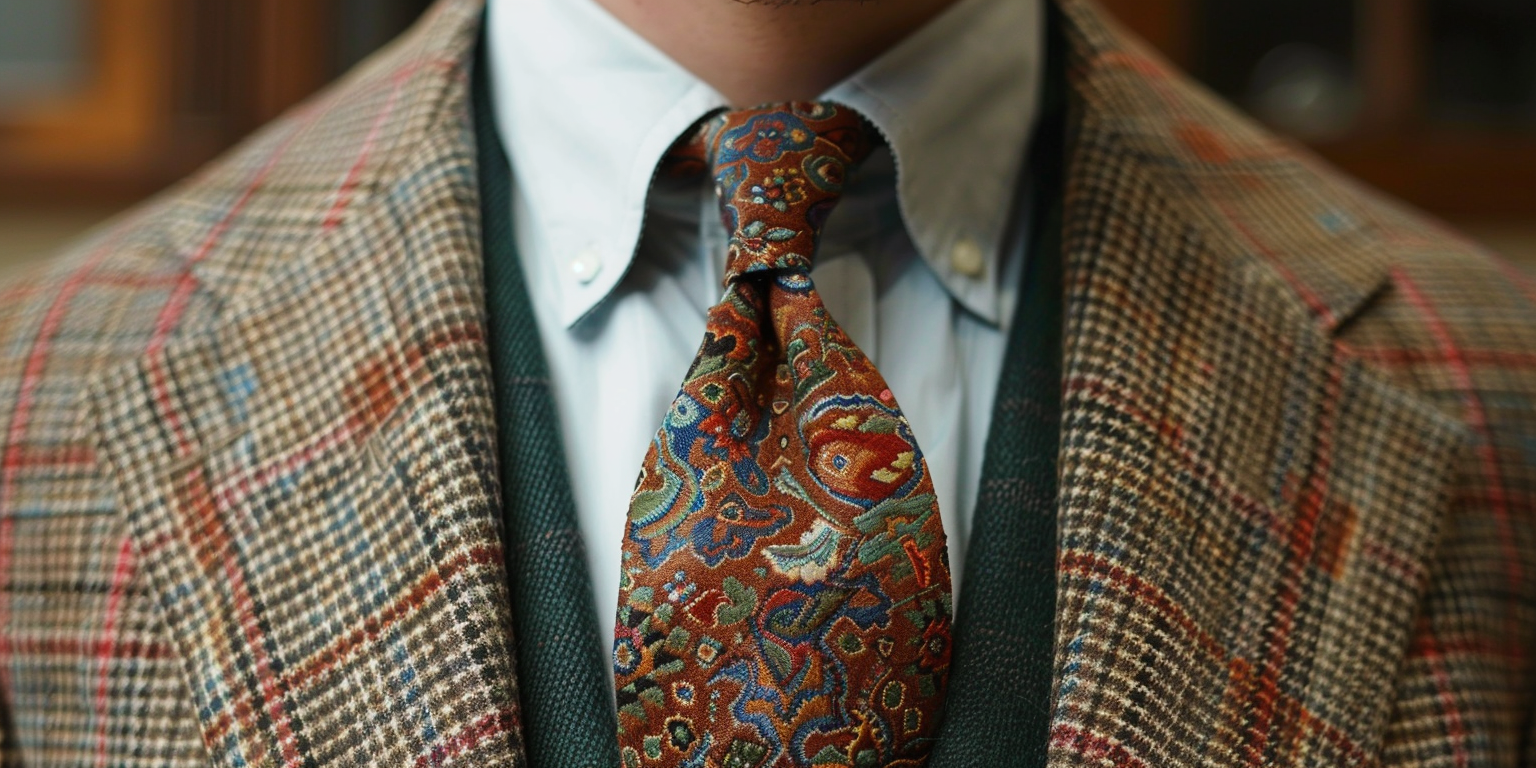
Standard Necktie
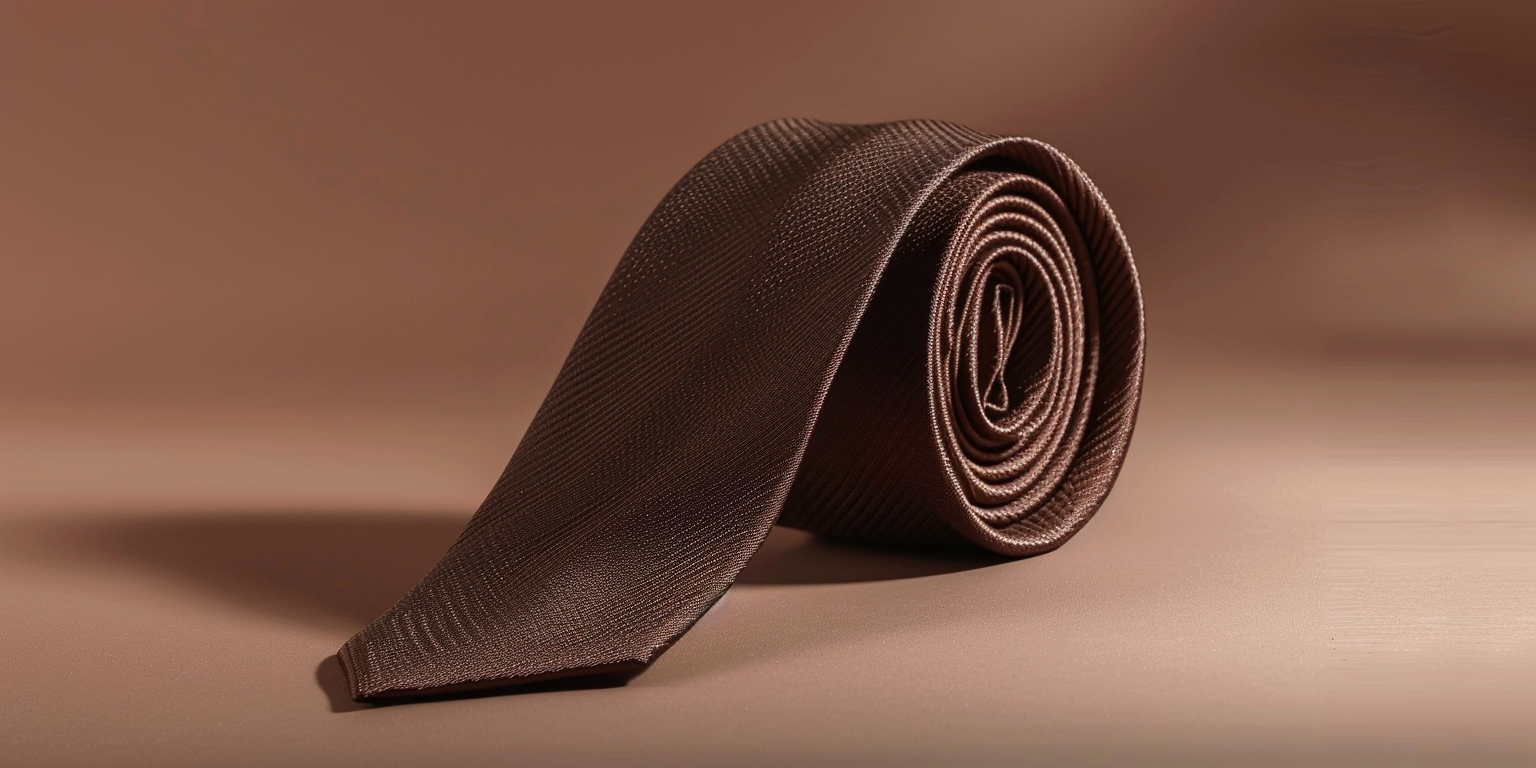
The classic tie most people recognize. It’s long, tapers at the bottom, and comes in a wide variety of colors and patterns. Best for: Business settings, job interviews, formal events, and daily office wear.
Skinny Tie
Sleeker and more modern, usually around 2 inches wide. It gives a sharper, more fashion-forward look and works well with slim-fit clothing. Best for: Parties, date nights, modern offices, or anytime you wear a slim suit.
Wide Tie
Wider than the standard (typically over 3.75 inches), this style was especially popular in the 70s and 80s. It pairs well with wide lapels and vintage outfits. Best for: Retro looks, older suits, or broader body types that need proportion.
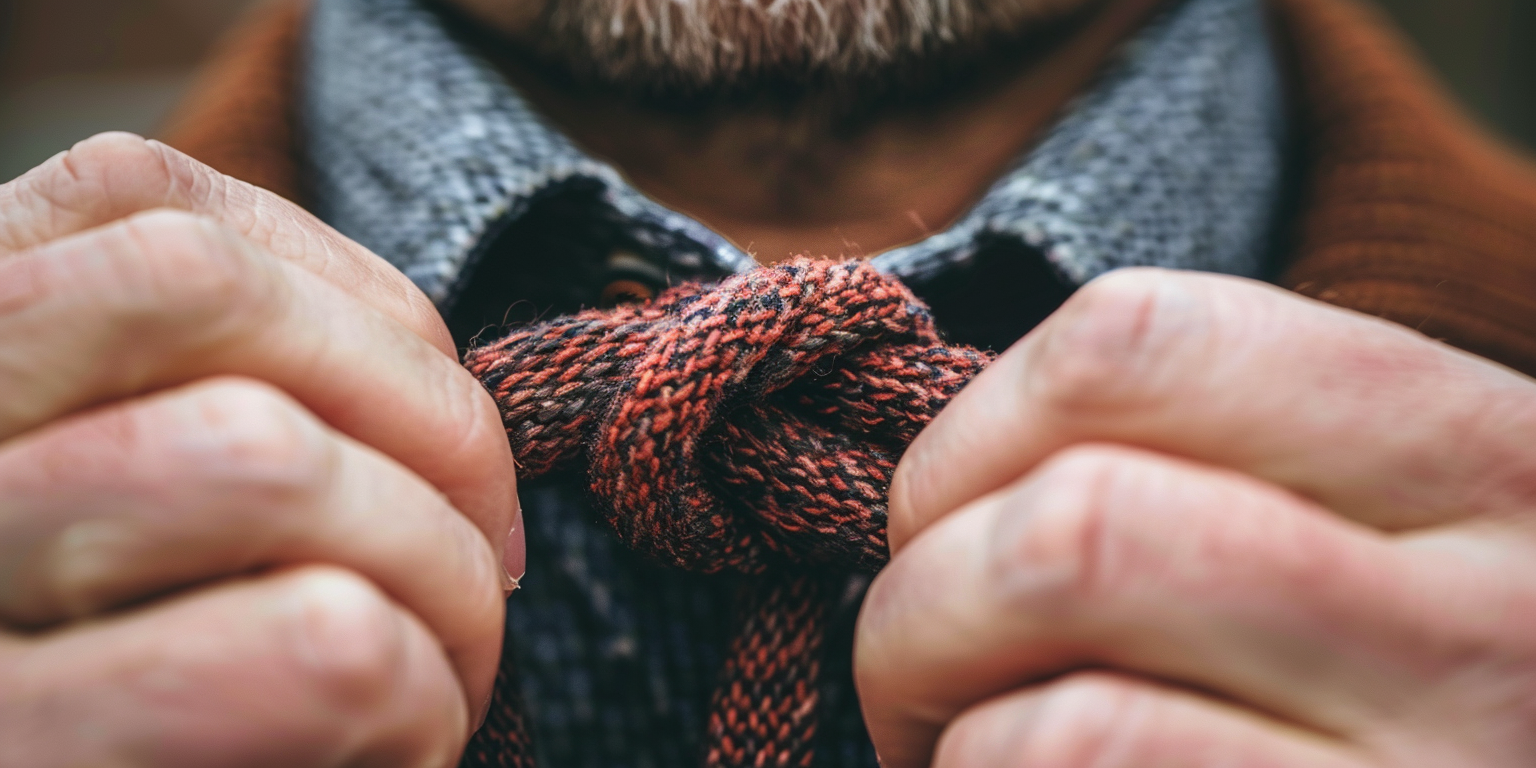
Knitted Tie
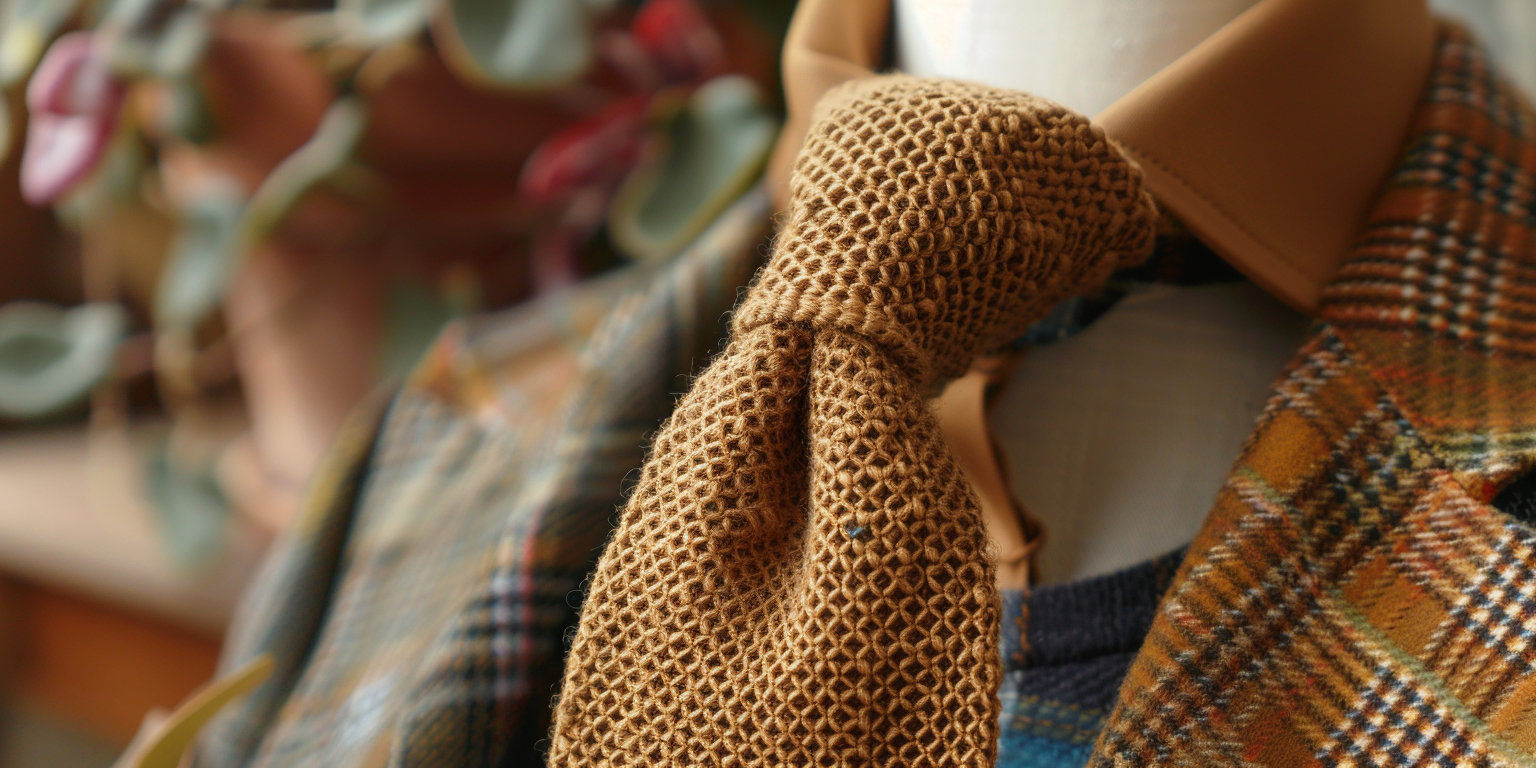
Made from textured materials like wool, cotton, or silk. It usually has a square tip and adds depth to an outfit without being too formal. Best for: Smart-casual, business-casual, or creative workplace settings.
Clip-On Tie

A pre-tied tie that clips onto your shirt collar. Very easy to use and often worn by children, in uniforms, or in workplaces where speed and safety matter. Best for: Convenience, uniforms, or when tying a traditional knot isn’t ideal.
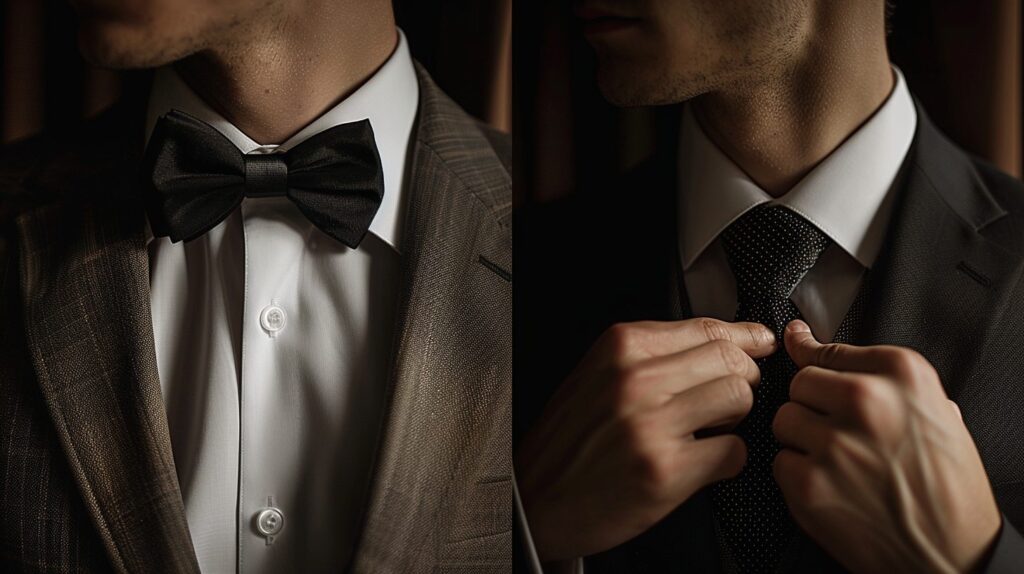
Bow Tie
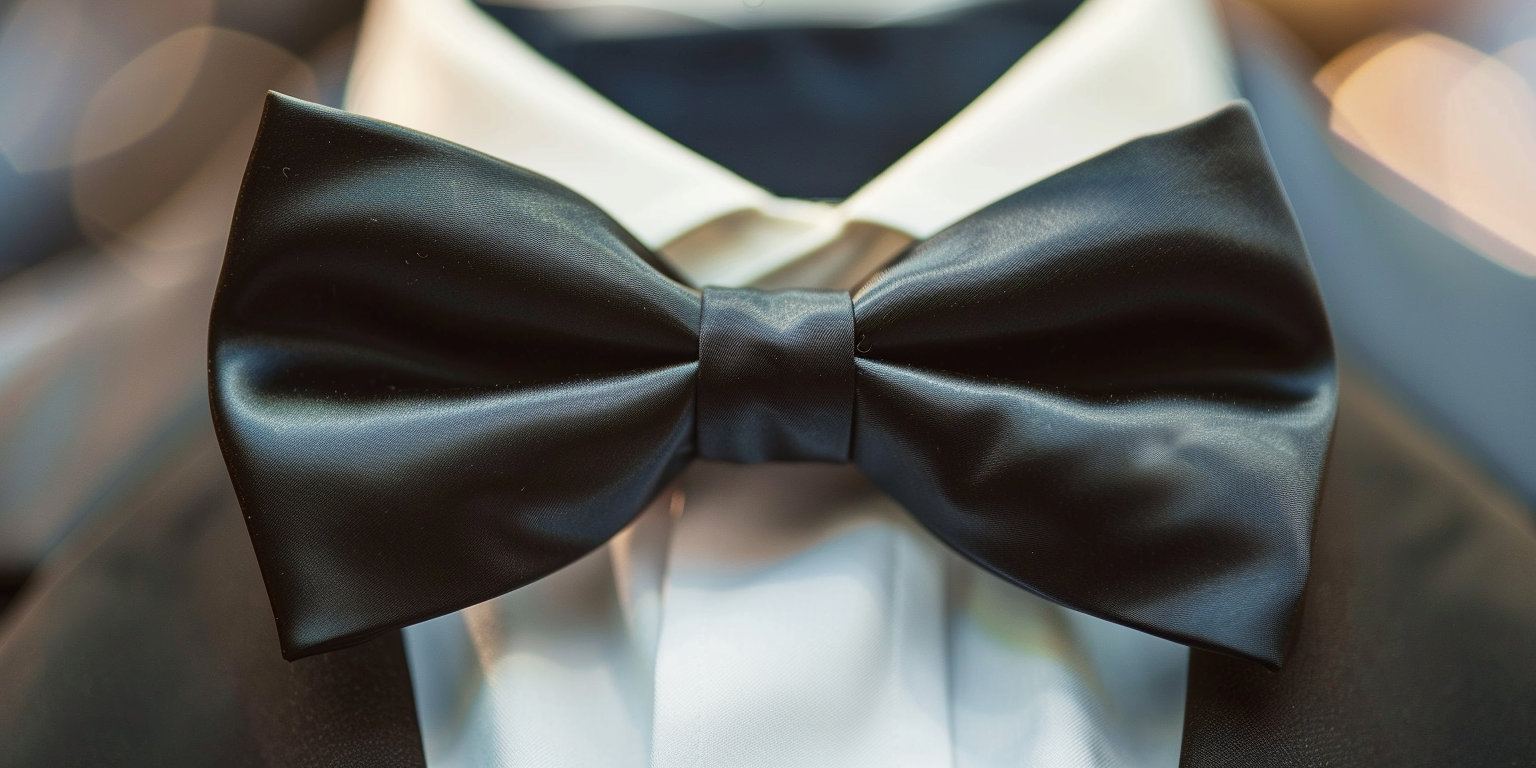
Tied into a bow shape, either manually or pre-tied. It’s bold and instantly makes a statement. Best for: Black-tie events, weddings, or when you want to stand out with a classic twist.
Cravat
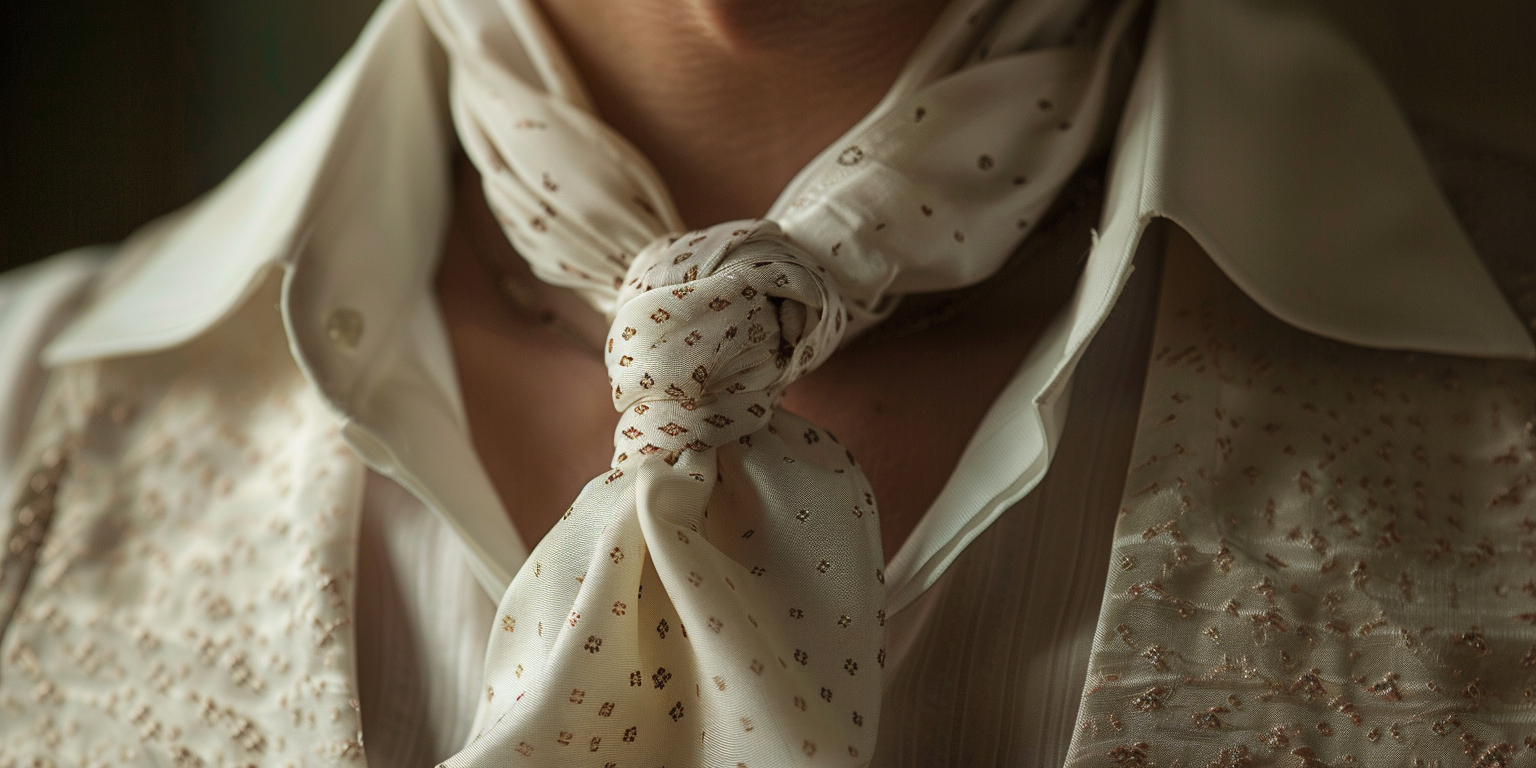
A more decorative and traditional piece of neckwear. Worn loosely under an open shirt collar. Think of it as a relaxed version of a tie with a hint of old-world charm. Best for: Vintage outfits, themed weddings, or formal events with flair.
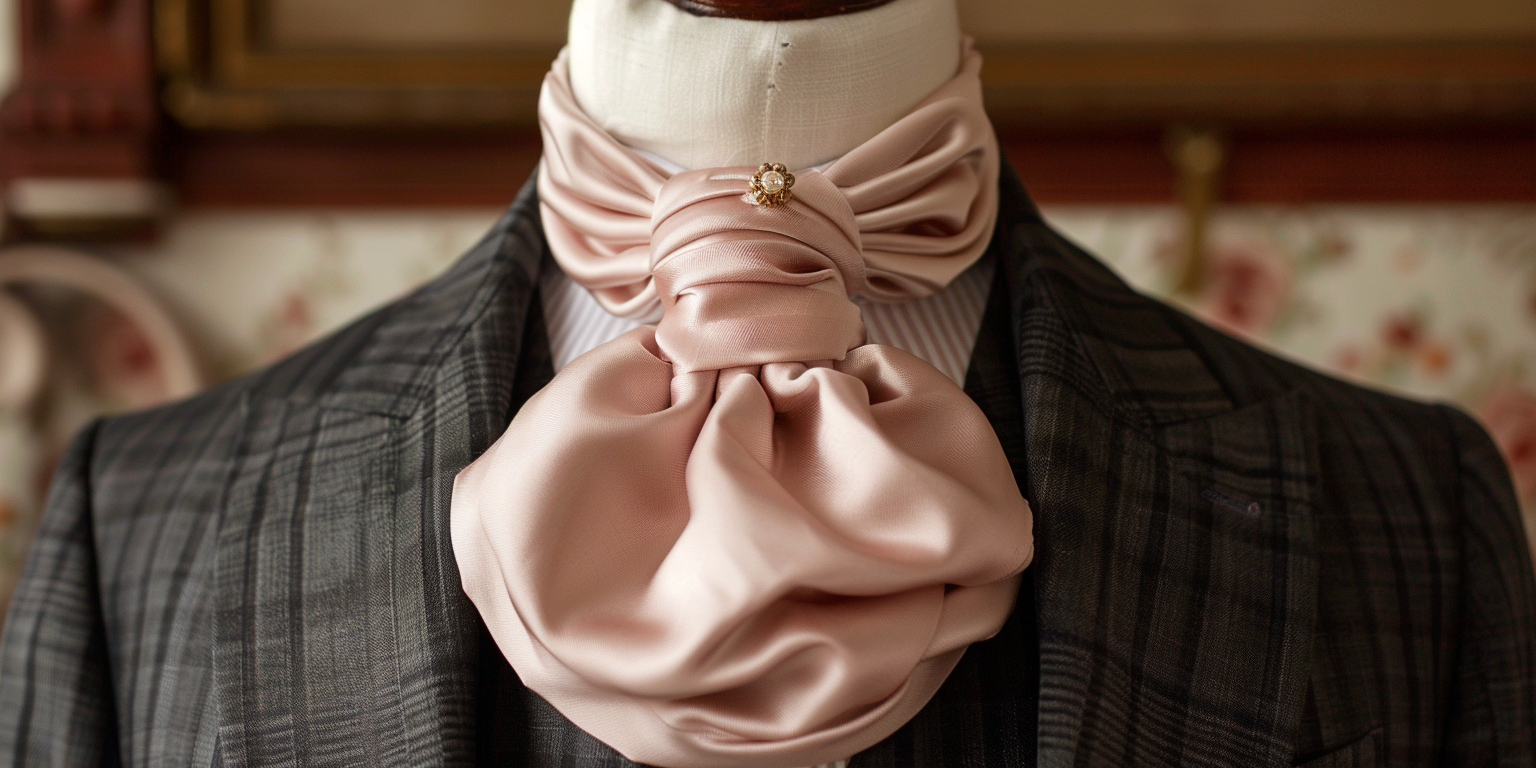 | Ascot TieA formal type of cravat, usually more structured and worn with a pin. Common in formal daywear, especially in traditional weddings. Best for: Morning dress, formal daytime weddings, or period costume looks. |
Bolo Tie
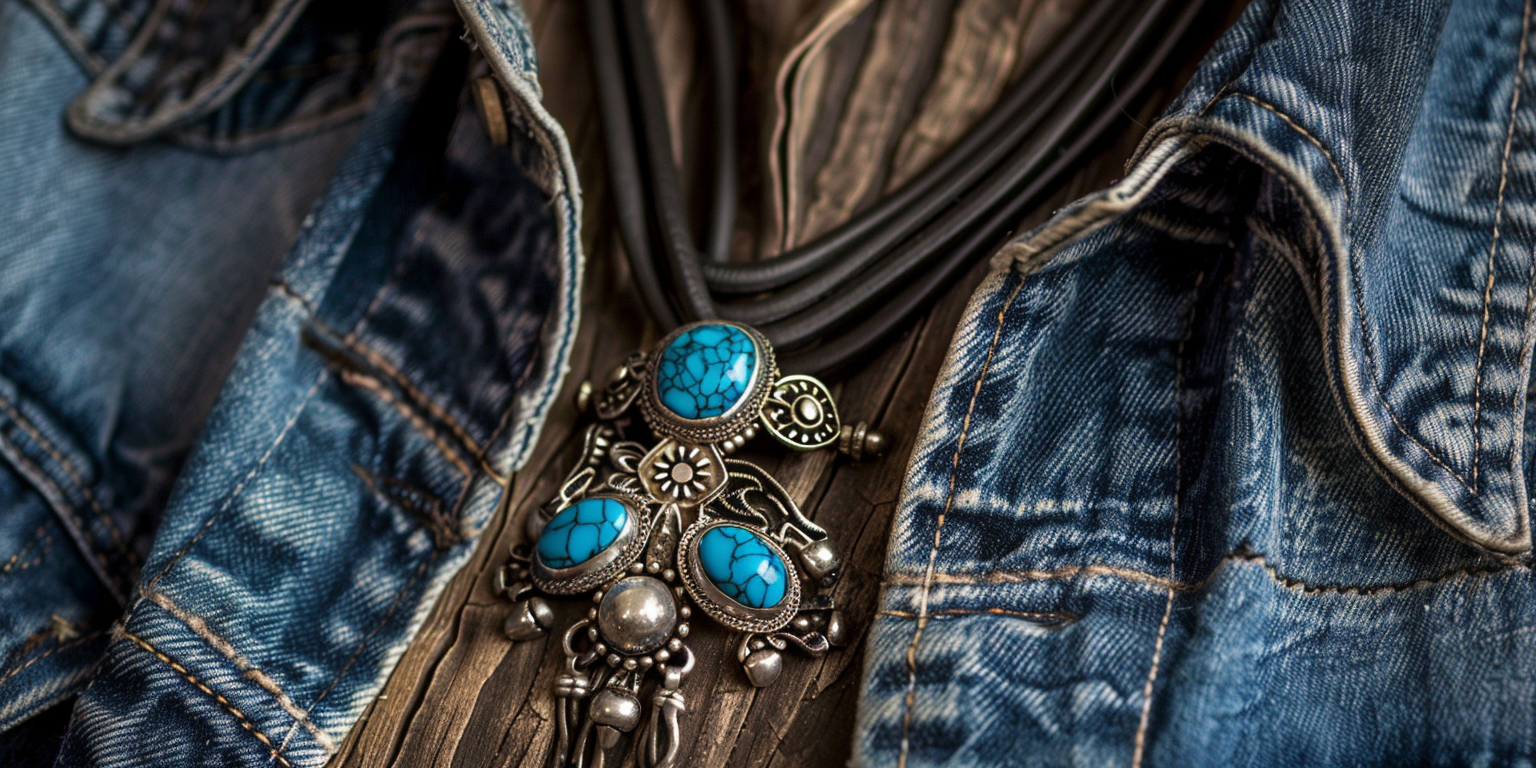
A cord fastened with a decorative clasp, typically featuring silver or turquoise. It’s a signature of Western and Southwestern U.S. style. Best for: Themed parties, Western-style fashion, or casual events with personality.
Different Types of Necktie Knots
There are many knots, but these are the most common and practical. They balance ease of tying, style, and versatility.
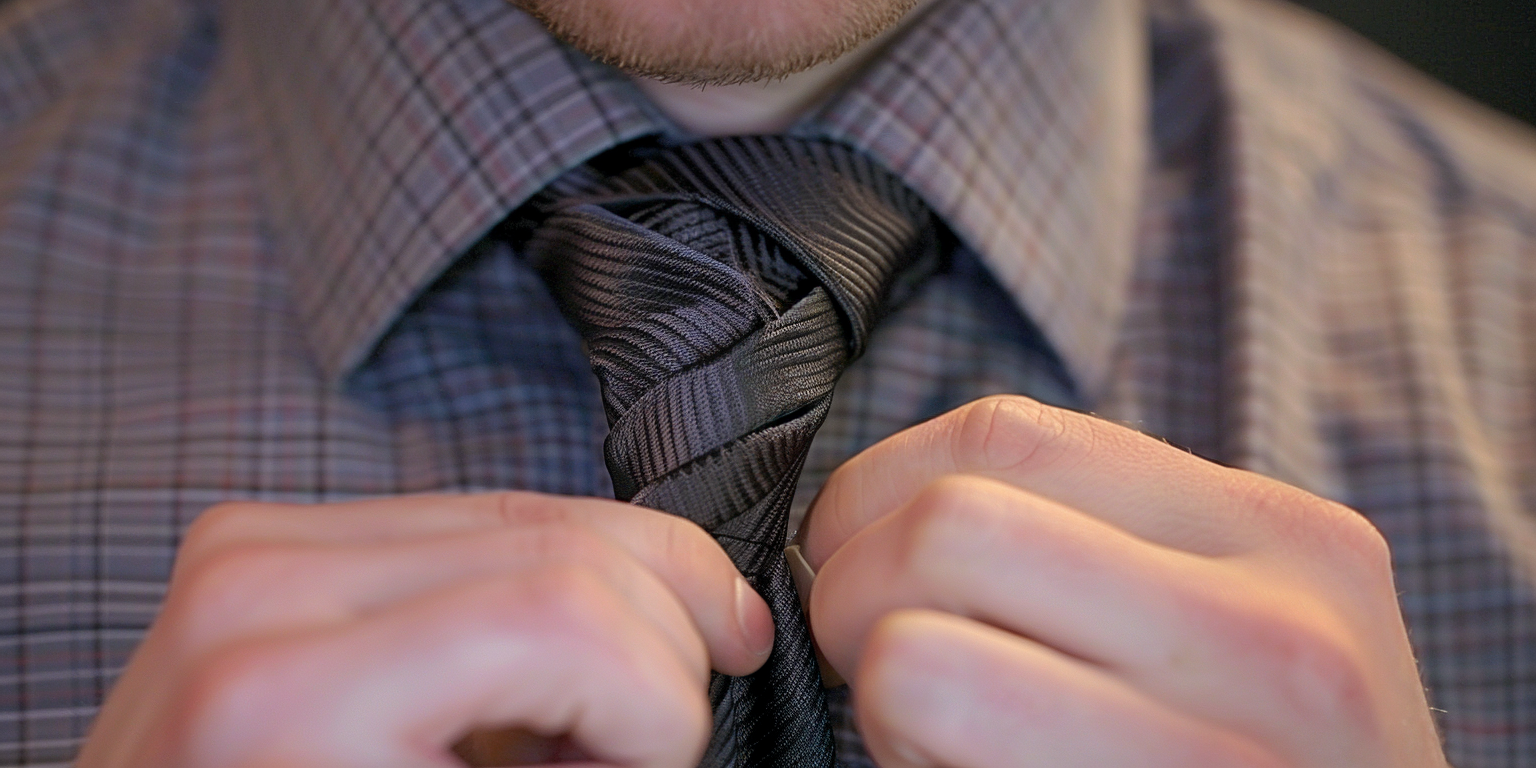
Four-in-Hand Knot
The Four-in-Hand is the easiest and most common necktie knot. It has a slightly narrow, asymmetrical shape that adds a casual and relaxed touch to your look. It pairs well with most shirts, especially those with narrow collars, and is ideal for everyday wear or business-casual settings. If you’re new to tying ties, start here.
How to Tie a Four-in-Hand Knot
- Drape the tie around your neck with the wide end on your right, about 12 inches lower than the narrow end.
- Cross the wide end over the narrow end.
- Bring the wide end behind the narrow end.
- Wrap the wide end back across the front again.
- Pull the wide end up through the neck loop from underneath.
- Pass the wide end down through the loop in front.
- Tighten and adjust the knot by sliding it up to your collar.
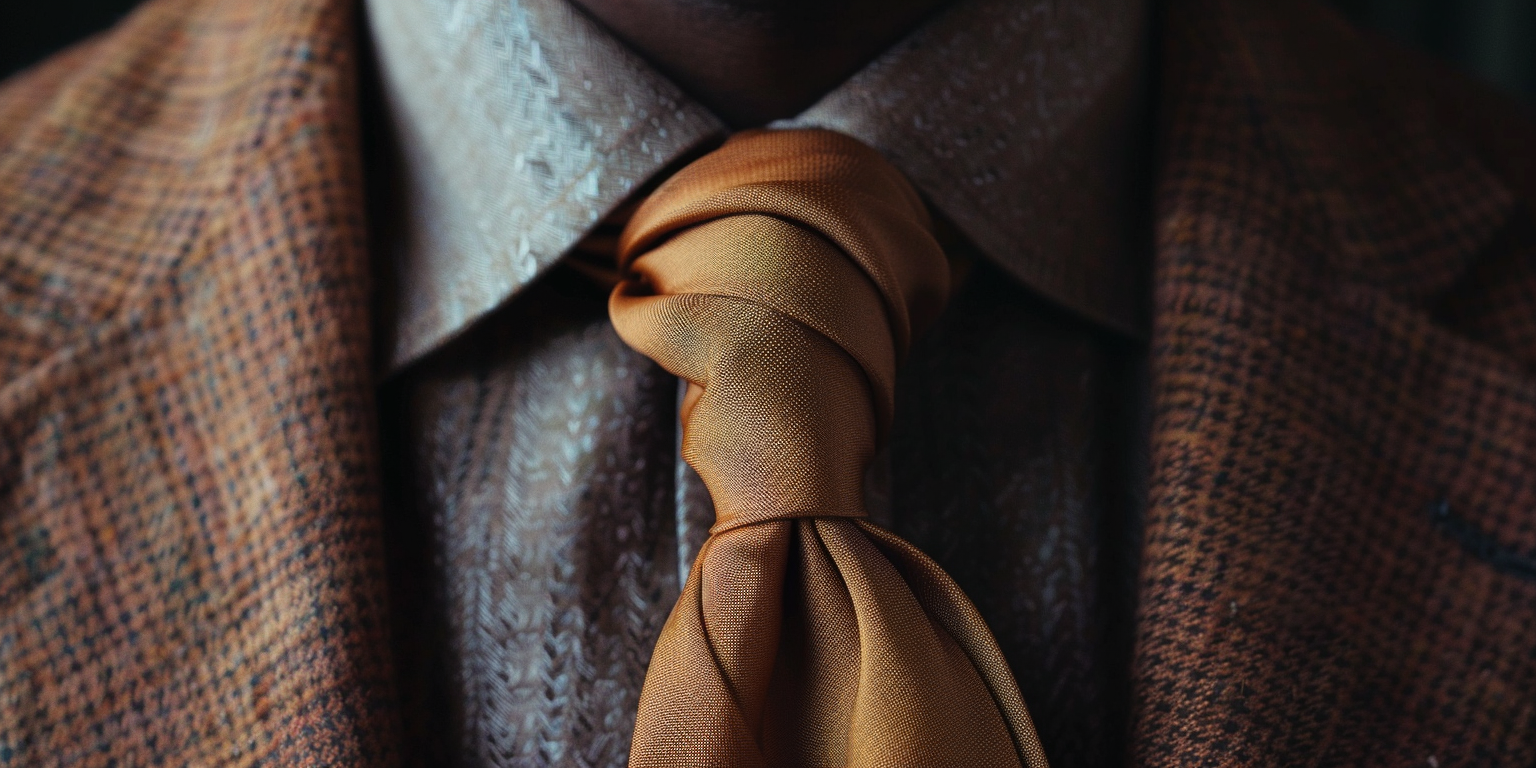
Half Windsor Knot
The Half Windsor is a medium-sized knot with a symmetrical, triangular shape. It’s more polished than the Four-in-Hand but still easy to tie, making it a go-to for office wear, interviews, or formal events. It works well with most standard collars and is a solid choice for those who want a clean, balanced look without too much bulk.
How to Tie a Half Windsor Knot
- Start with the wide end on your right, below the narrow end.
- Cross the wide end over the narrow end.
- Bring the wide end up through the neck loop from underneath and down to the left.
- Wrap it behind the narrow end to the right.
- Bring it across the front from right to left.
- Pull it up through the neck loop again.
- Slide it down through the front loop and tighten.
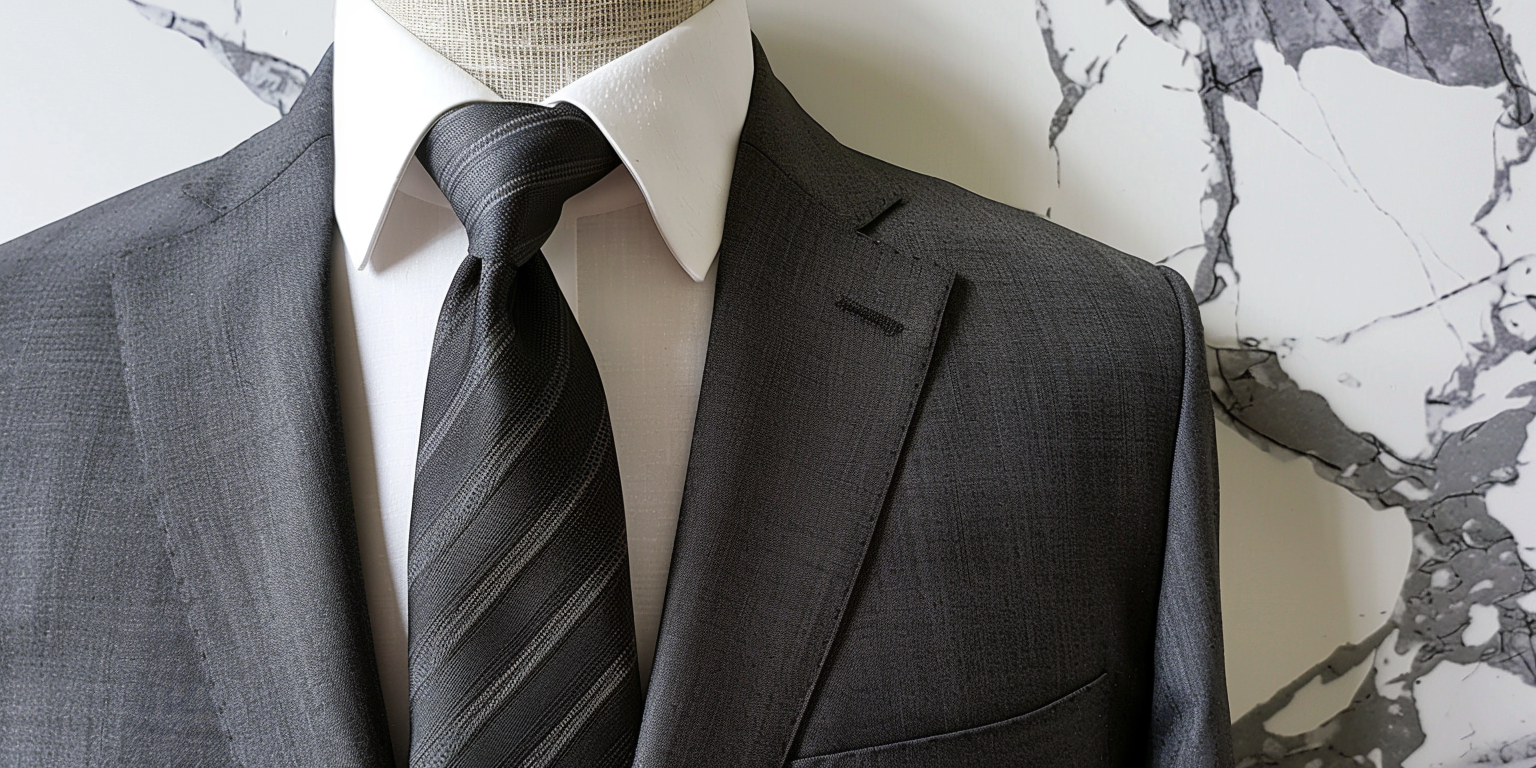
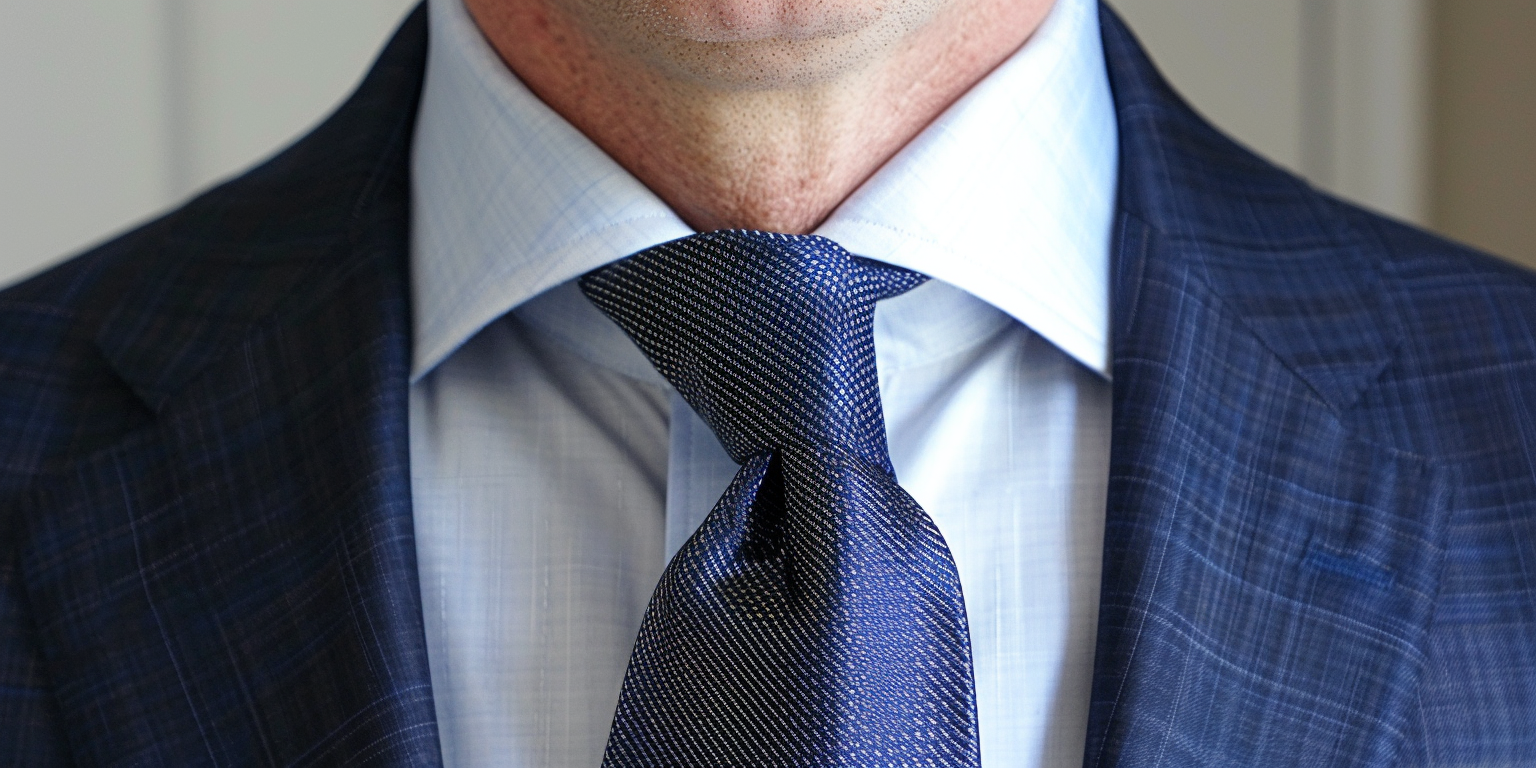
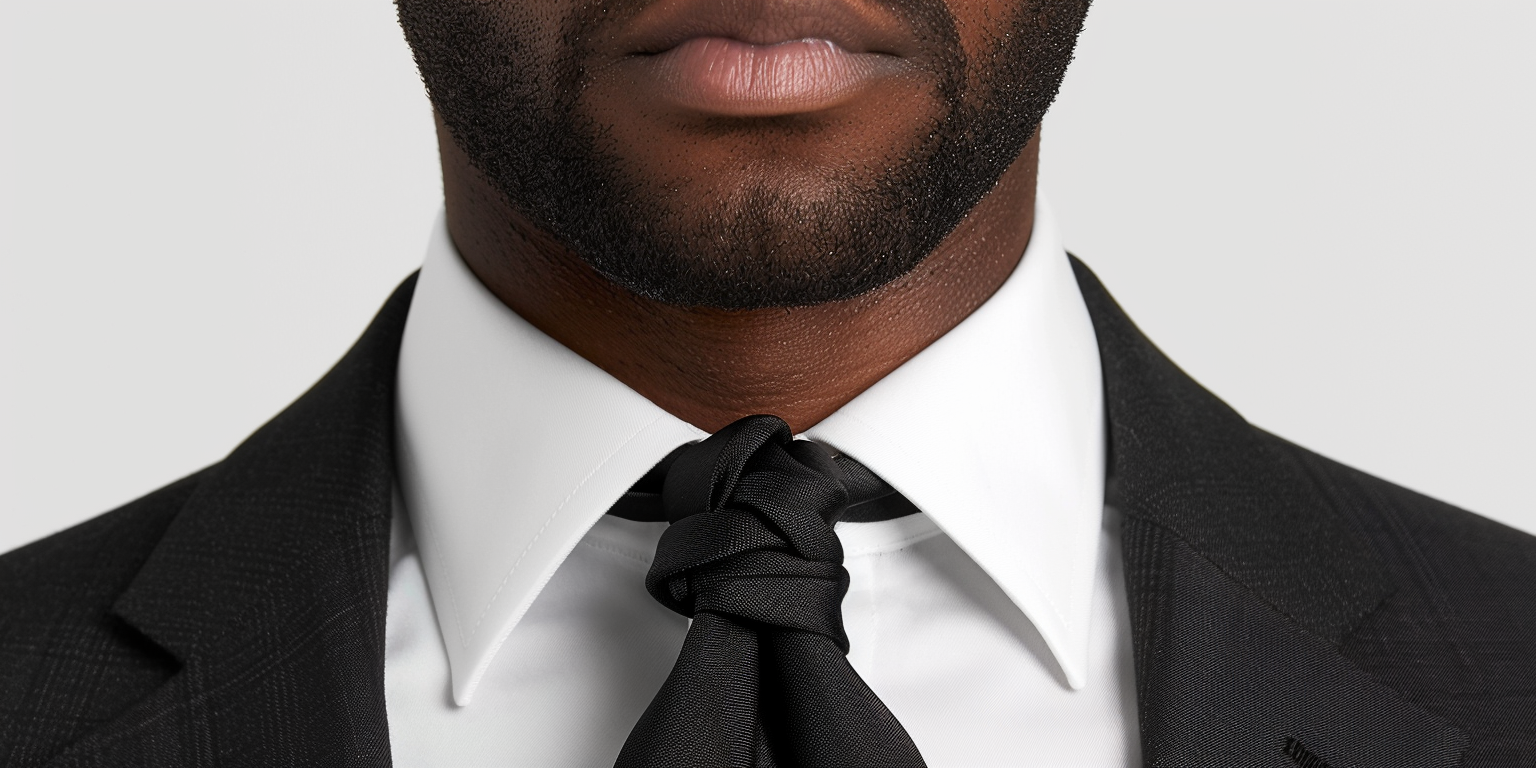
Full Windsor Knot

The Full Windsor is large, wide, and perfectly symmetrical. It fills out spread or cutaway collars, creating a bold, confident look. This knot is best for formal occasions like weddings, presentations, or any setting where you want to make an impression. It requires more tie length and practice but delivers a powerful finish.
How to Tie a Full Windsor Knot
- Start with the wide end much lower than the narrow end.
- Cross the wide end over the narrow end.
- Bring it up through the neck loop and down to the left.
- Wrap it behind the narrow end and pull it up through the neck loop again—this time on the other side.
- Bring it down to the right.
- Cross it over the front from right to left.
- Pull it up through the neck loop one last time.
- Pass it down through the front loop. Tighten and shape.
Pratt Knot (Shelby Knot)
The Pratt Knot, also called the Shelby Knot, is neat, medium-sized, and symmetrical. It’s easy to tie and works with most shirt collars, making it great for everyday business or semi-formal settings. It’s less bulky than the Windsor knots but more structured than the Four-in-Hand, offering a nice middle ground.
How to Tie a Pratt Knot (Shelby Knot)
- Start with the tie inside out—seam facing out. Wide end on the right.
- Cross the wide end under the narrow end.
- Bring the wide end up through the neck loop and down.
- Wrap it across the front from right to left.
- Bring it up through the neck loop again.
- Pull it down through the front loop and tighten.
Kelvin Knot
The Kelvin Knot is a firmer, more angular version of the Four-in-Hand. It has a compact shape that looks sharp and intentional, especially with slim ties and narrow collars. It’s great for adding a touch of formality to casual outfits and works well for sleek, minimalist styles.
How to Tie a Kelvin Knot
- Start with the tie inside out—seam facing out. Wide end on the right.
- Cross the wide end under the narrow end.
- Wrap it over the front, left to right.
- Wrap it under again, right to left.
- Bring it over the front again, left to right.
- Pull it up through the neck loop from underneath.
- Slide it down through the front loop and tighten.
Oriental Knot (Simple Knot)
The Oriental Knot is the simplest and quickest necktie knot to tie. It’s compact and straightforward, though less common in Western styles. It’s perfect for thick or short ties, casual settings, or moments when you need a quick fix. While not as popular, it gets the job done with ease.
How to Tie a Oriental Knot (Simple Knot)
- Start with the tie inside out—seam facing out. Wide end on the right.
- Cross the wide end under the narrow end.
- Bring the wide end over the front, right to left.
- Pull it up through the neck loop from underneath.
- Pass it down through the loop in front. Tighten and adjust.
Balthus Knot
The Balthus Knot is thick, bold, and dramatic. It uses more of the tie’s fabric to create a wide knot that demands attention. This style suits fashion-forward events and occasions where you want to stand out. Because of its size, it’s best paired with a long tie and a wide-collared shirt.
How to Tie a Balthus Knot
- Drape the tie around your neck with the wide end on your right, very low.
- Cross the wide end under the narrow end.
- Bring it up through the neck loop, down the left.
- Wrap it behind the narrow end to the right.
- Pull it up through the neck loop again, and down the center.
- Wrap it across the front to the left.
- Bring it up through the neck loop again.
- Slide it down through the front loop and shape. This one uses a lot of tie fabric.
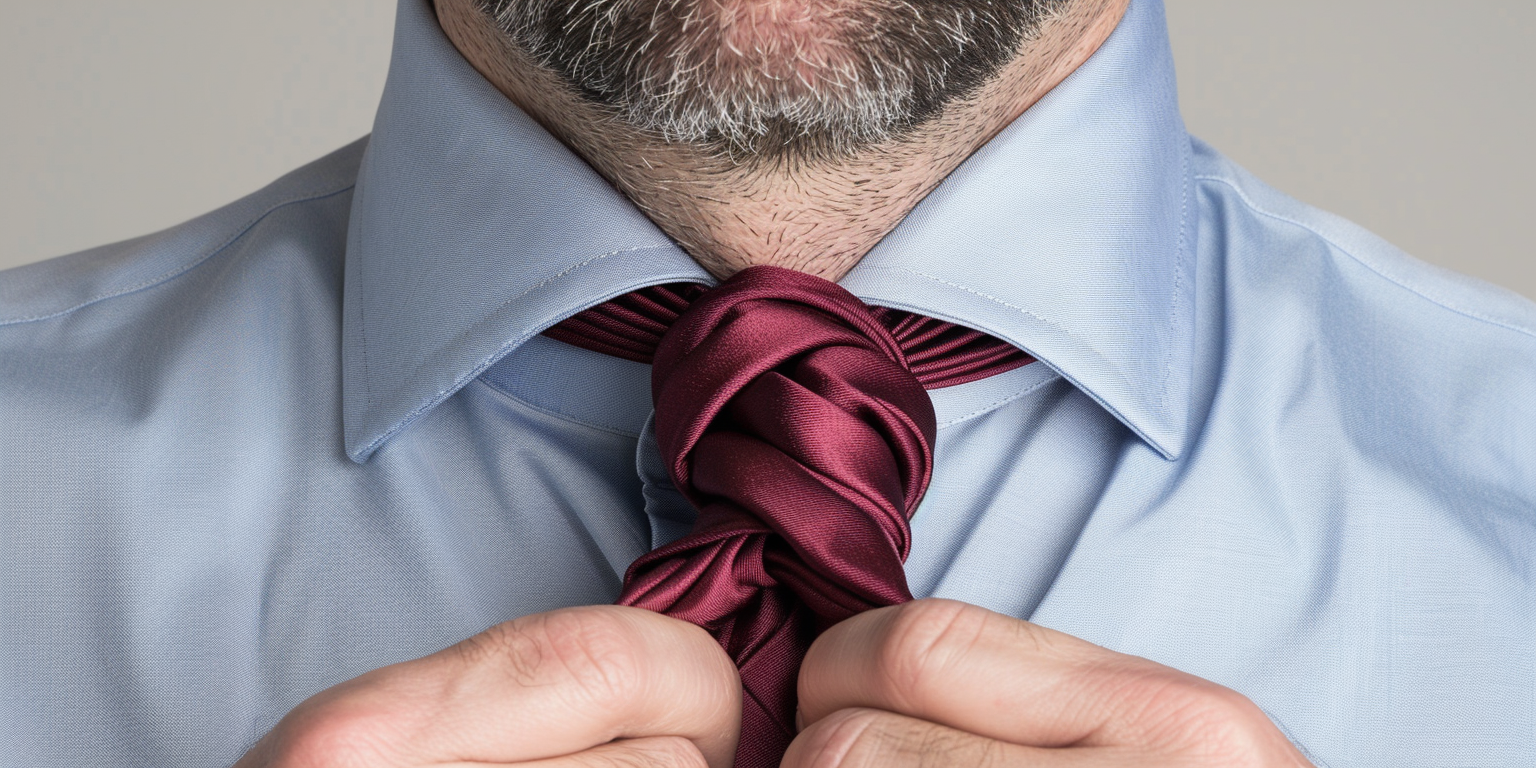
Eldredge Knot
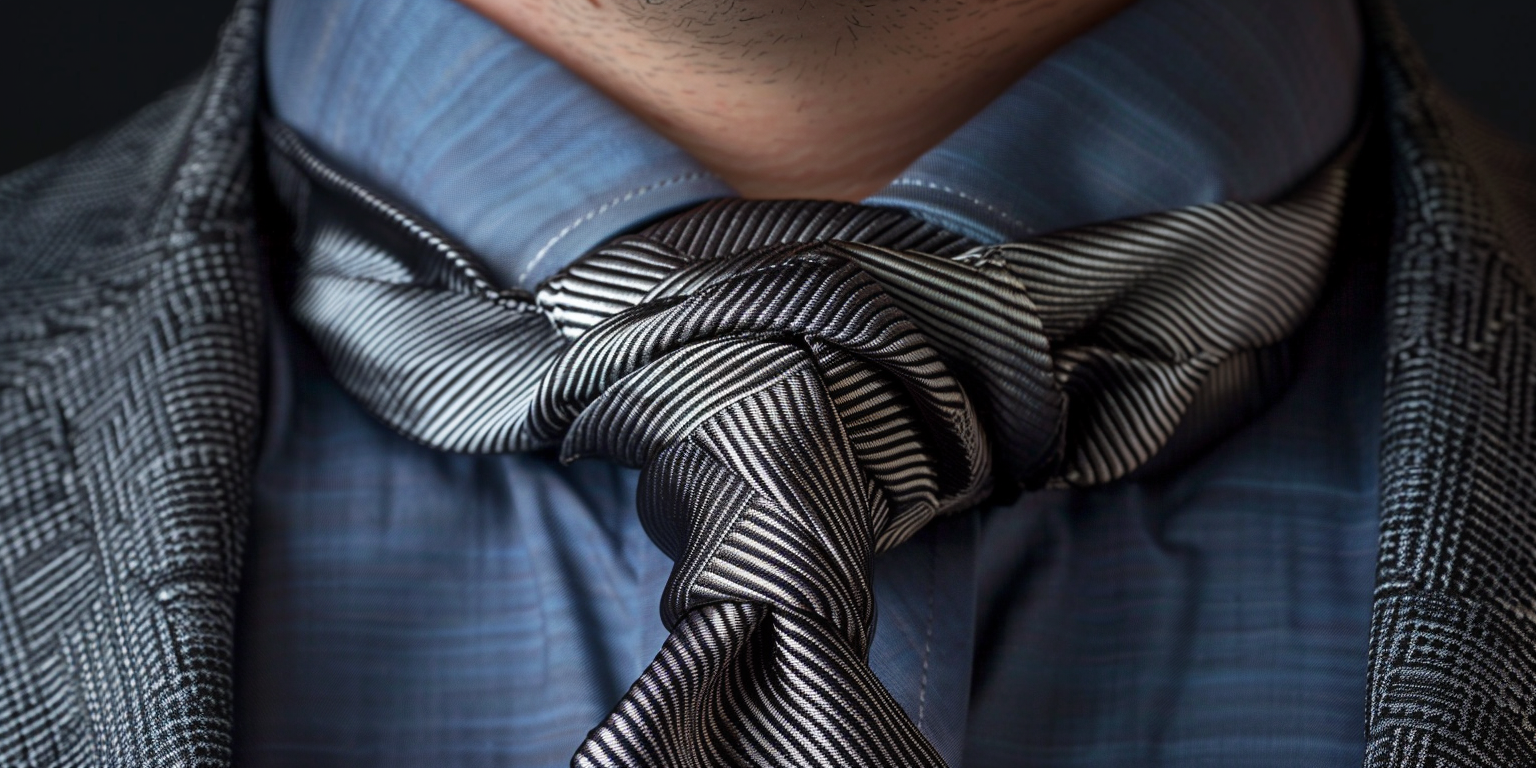
The Eldredge Knot is an elaborate, layered knot that looks almost like a braid. It’s complex to tie but offers a striking, artistic look that turns heads. This knot is best for special events, fashion shoots, or parties where creativity in style is welcome. It’s not for everyday wear, but it’s unforgettable.
How to Tie a Eldredge Knot
- Start with the wide end on your left, short. Most tying will use the narrow end.
- Cross the narrow end over the wide end.
- Bring it up through the neck loop and down the left side.
- Wrap it behind the wide end to the right.
- Bring it across the front to the left and up through the neck loop.
- Pull it down and wrap it behind the wide end again.
- Tuck the rest behind the knot. It forms a braid-like shape.
Trinity Knot
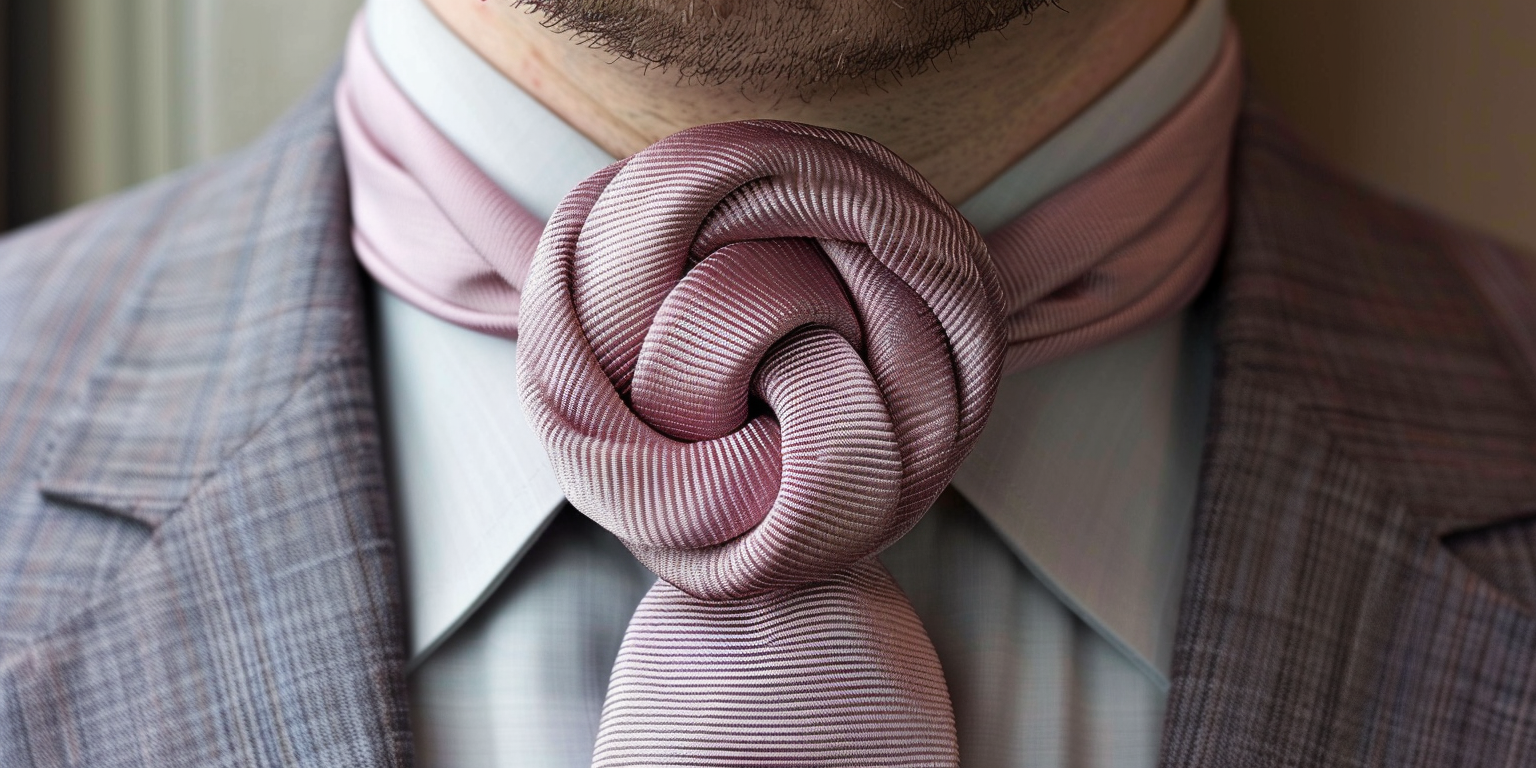
The Trinity Knot is another eye-catching knot, shaped like a rounded triangle with a subtle spiral. It’s decorative and modern, offering a stylish twist without being too flashy. It’s ideal for weddings, evening events, or anytime you want a unique alternative to traditional knots.
How to Tie a Trinity Knot
- Start with the wide end on your left, short. Tie with the narrow end.
- Cross the narrow end over the wide end.
- Bring it up through the neck loop and down the left.
- Wrap it behind the wide end to the right and up through the loop again.
- Pull it across the front to the left.
- Tuck the remaining tail behind the knot.
- Shape it into a triangle. It’s a layered and spiral-like design.
Wrapping Up
Mastering a few classic necktie knots is a simple way to elevate your style and confidence. Whether you prefer the wide, formal Windsor or the casual Four-in-Hand, each knot has its place and purpose. Knowing how to tie these knots properly ensures you look sharp for any occasion — from weddings and business meetings to casual outings.